Pages

Friday, June 20, 2014

Let's fill up a sofa space with pillows

Finally, I have finished my tulip applique pillow cover and washed away the outline I made. I'm now feeling so happy and enjoy huging my new pillow on the couch.

DSC09688

DSC09689
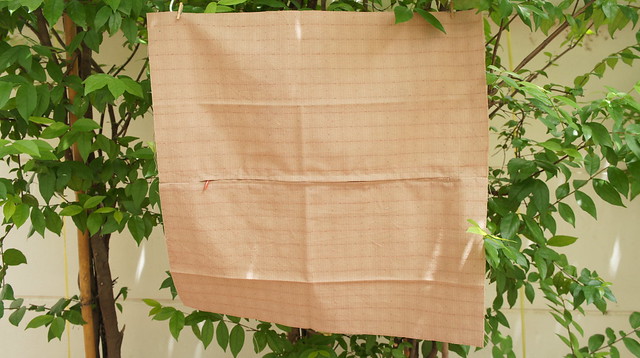
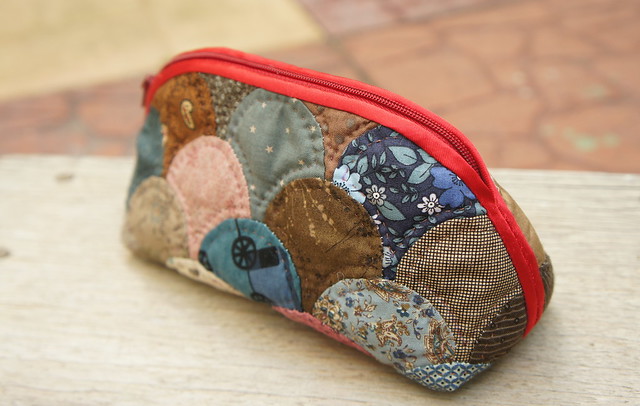
The invisible zipper at the back

DSC09693

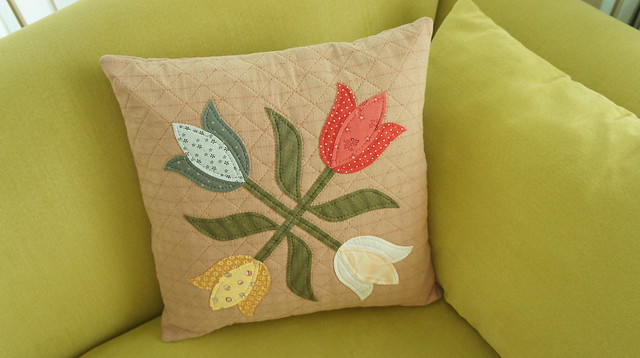
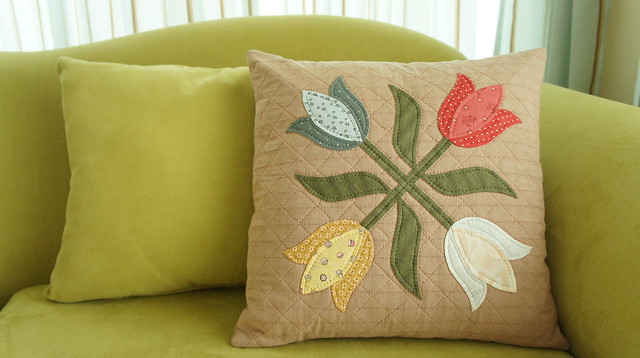
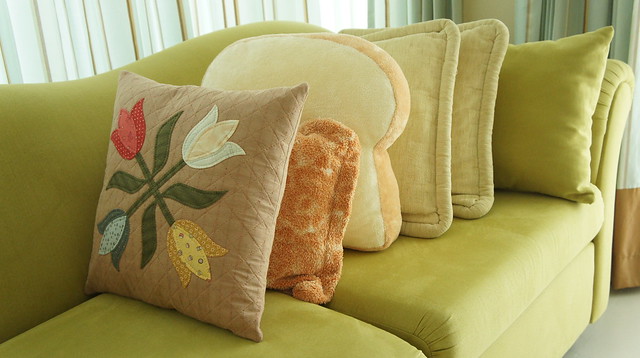
Look! how many pillows we have on 2-seat couch. My husband started complaining that he has no place to sit watching TV. I told him "don't you see how beautiful pillow I did?" and he smiled and managed to sit among pillows. I guess he agreed ;-)

DSC09696

Linking up to:
Needle and Thread Thursday
TGIFF

Wednesday, June 18, 2014

Tulip Applique Pillow Cover

I've been working on this project for a while. Sometimes I put it aside and did other projects, so it took me almost 2 months to complete both front & back pieces of a pillow case. This project is good for practicing applique though.


DSC09682
Tulips applique on pillow cover

I was thinking to use only red and yellow, each for 2 tulips, but finally I chose all different colors for each of them. The applique process is enjoyable; however after finishing the applique, it's time to baste the quilt sandwich, which is my least favorite step. I had to put this project aside for a long while until I feel ready for it.


DSC09676
Basting tested my patience

DSC09675
Blue tulip

DSC09677
Red tulip

DSC09680
Yellow tulip

For the back piece, I simply installed an invisible zipper at the middle

DSC09685

Next post I'll show you the finished pillow cover.

Linking with WIP Wednesday at Freshly Pieced

Tuesday, June 10, 2014

It's time for Mariner's Compass

DSC09645copy

I have to admit that I was a bit scared to make a Mariner's Compass block at first because of its tiny forks & round shape, and the steps of creating the templates are quite confusing to me. After re-reading over my notes a couple times, I started to draw a quarter circle on plastic sheet.

My notes

I paid special attention to each point and curve while cutting the templates and finally got them all.

Mariner's Compass templates

Sorry, I didn't have a chance to take some photos while making it, so there are only finished block pictures. I found that some points are not sharp although I did my best pressing each seam. Any idea to fix this? 

DSC09648copy

Tuesday, June 3, 2014

Clamshell quilt now became a pouch

DSC09637copy

As promised yesterday, I added more quilts at 4mm from the edge of each clamshell and picked a red satin bias strip for bindings. Hope that I picked the right color.

DSC09630copy

After finishing the bindings, I sewed the sides together and added a base. 

DSC09633copy

Then attached a zipper, and walla! Honestly, I'm not happy with the colors I chose. I better try brighter colors next time.

DSC09643copy


Monday, June 2, 2014

Clamshell Quilt

Last week, I have been busy with making a clamshell quilt after learning a technique from my sensei. She taught the way to piece each clamshell directly on the batting & backing. By using this technique, we can join all 3 layers together in one step. It sounds easy but I took pretty much time to get familiar with it and still need more practice.

Here's what it looks like DSC09626copy

the back DSC09628copy

and the closer look DSC09629copy

Tomorrow, I will do more quilt and turn it into a pouch. Please stay tuned :-)